As an Amazon Associate, we earn from qualifying purchases. Some links on this site are affiliate links at no extra cost to you. Our recommendations are based on thorough research and editorial judgment.

Belt Sander Grit Progression: From Rough to Smooth
Have you ever struggled with getting that perfect smooth finish on your woodworking projects? It can be frustrating when you feel like you’re doing everything right, only to end up with scratch marks. The trick is all about using the right grit progression with your belt sander.
Start with P80 or even P60 grit for your rough shaping. This is where you’re really going to take off the bulk of your material. Once you’ve got that initial shape down, switch gears to a P120 grit. This step helps smooth out the scratches left by the coarser sandpaper.
From there, move on to P180 for further refinement. Lastly, don’t skip the P220 grit—it’s crucial for that high-quality surface smoothness you’re after.
Here’s a little insider tip: always test on some scrap wood first to find out what grit sequence works best for you. By doing this, you can see how your material reacts and what gets you the best results.
Truth is, skipping grits might feel tempting when you’re in a hurry, but it leads to deeper scratches and a lot more work down the line.
If you follow these steps, you’ll come out with an excellent finish on your projects. Remember, practice makes perfect, so don’t hesitate to keep honing your skills. What’s your next woodworking project going to be?
Key Takeaways
- Begin sanding with 80 grit to eliminate major imperfections before progressing to finer grits.
- Use sequential grits: P80, P120, P180, and finish with P220 for a smooth surface.
- Avoid skipping grits as it results in deeper scratches and poor finish quality.
- Test different grit sequences on scrap wood to find the best fit for your project.
- Maintain sanding belts in good condition to enhance sanding effectiveness and achieve a flawless finish.
Why Grit Size Matters for Sanding Success

Have you ever sanded a piece of wood only to realize it’s full of scratches? It can be frustrating! The grit size you choose plays a huge role in achieving a smooth finish, and it’s something you definitely don’t want to overlook. Starting with 80 grit is usually the way to go when tackling wood projects—it helps clear away those big, unsightly imperfections.
But don’t just stop there. It’s crucial to progress through the grits properly. You’ll want to move from coarser grits up to finer ones, typically reaching up to 240 grit for that final touch. Here’s the trick: follow the Golden Rule of Sanding, making sure each grit removes the scratches from the previous one. If you skip grits—especially more than one—you’re likely leaving deeper scratches behind, which can lead to an uneven finish.
So, why does this matter? Using the right grit not only makes sanding easier but also cuts down on your time and effort. You can streamline your process and get that polished look you’re after without running into annoying setbacks. Remember, precision and method are key in every sanding project, so take your time to do it right.
In short, the right grit sizes matter a lot in sanding. What’s your go-to grit for different projects? Choosing the appropriate tools, like those with a cutting depth capacity that matches your workpiece, also helps ensure optimal results in woodworking.
Recommended Products

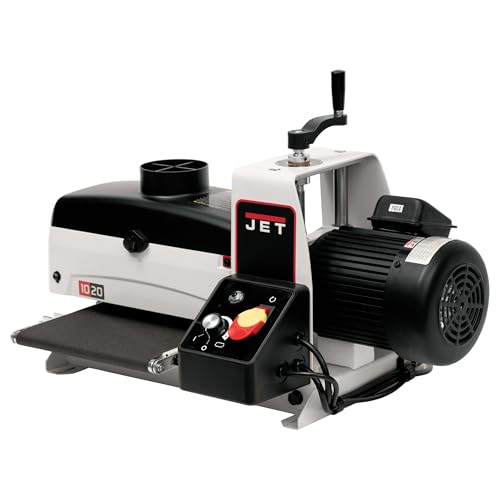
Sandsmart control continuously monitors the load on the drum motor and regulates the speed of the conveyor motor to maintain the highest feed rate without overload

Motor: 1 HP, 110V, single-phase, 14A, 1725 RPM

POWERFUL MOTOR: running at 2900 rpm, the JLD belt grinder sander delivers superior grinding power, Equipped with a 1500W pure copper motor running, Round grinding 9.2-inch ,dis for efficient metal grinding and blade sharpening operations
Choosing the Right Grit Sequence for Belt Sander Projects

Choosing the right grit sequence for your belt sander projects can feel overwhelming. You might wonder where to start. Here’s the deal: starting with a coarser grit, like P40 or P60, does wonders for removing material and shaping surfaces. After that, you’ll want to work your way through finer grits such as P80, P120, P180, and P220. This progression is key to making sure you get rid of any scratches left behind from the last grit.
So, why is this important? Skipping multiple grits can lead to deep scratches that ruin the finish on your wood. If you’re dealing with rougher woods, don’t hesitate to dive into those lower grits to tackle any imperfections. It’s all about making your sanding effective.
Here’s a trick: before diving into a big project, take a piece of scrap wood and conduct some test sanding. This allows you to figure out the best grit sequence for your specific materials. By testing it out, you can create a sanding strategy that’s tailored specifically for your needs.
Additionally, using a sander with variable speed control can help you adjust sanding aggressiveness as you progress through different grits, optimizing your sanding results. This feature is common in DEWALT Orbital Sanders and other quality random orbit sanders.
Recommended Products
Heavy-duty die-cast aluminum and steel body provides rigidity for consistent quality
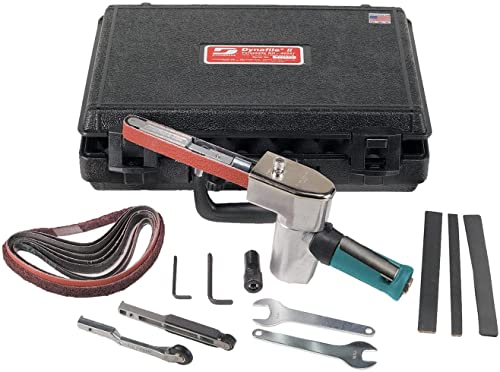
DYNAMIC DYNABRADE DYNAFILE: Our world-famous Dynafile III abrasive belt tool replaces tedious hand filing and sanding! Use it to grind, deburr, polish, and more. Applicable on a variety of surfaces.
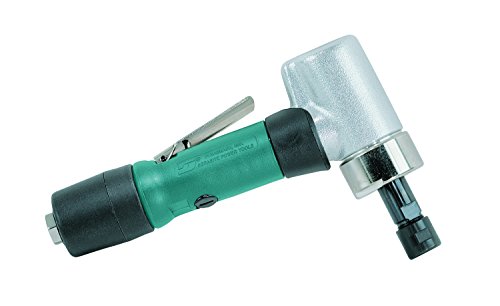
20,000 Rpm, Gearless, Extended Rear Exhaust, Short Shank, 1/4" & 6Mm Collets
Recommended Grit Progression for Smooth Finishes

Have you ever struggled to get a smooth finish while using a belt sander? It can be frustrating, but starting with the right grit makes all the difference. For rough shaping, don’t go below P80. This is where you’ll begin to see a real change in your project.
Once you’ve shaped the wood, bump it up to P120. This grit will help you smooth out any scratches left behind from the previous sanding. After that, move to P180 to refine the surface more, resulting in a noticeably smoother texture. Finally, P220 is what you want for that pristine finish.
Now, if you’re dealing with major imperfections, starting at P60 can really help. Just remember to work your way up to higher grits afterward. So, what’s the takeaway here? Don’t ever skip more than one grit! Each one plays a crucial role in removing the scratches from the last belt.
Using the proper tools with ergonomic handles can also enhance precision and comfort during sanding tasks.
Recommended Products

Powerful & Efficient: Powered by a 1500W brushless motor, this belt grinder sander delivers strong output with a belt line speed of up to 32 m/s, enabling fast material removal and improved grinding efficiency for woodworking, knife making, and metalworking
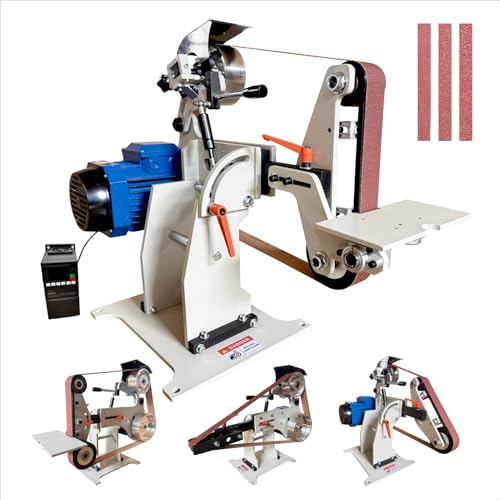
POWERFUL CORE PERFORMANCE: Equipped with a 1500W high-quality pure copper motor, delivering robust and stable power output. Combined with an efficient transmission structure, the grinding efficiency is increased by 30% compared to standard models, effortlessly handling heavy-duty grinding scenarios such as metal and wood.

Tool includes 57932 Offset Sanding Arm (with 57938 Soft Platen Pad), 94407 Flow-Control Dynaswivel and an assortment of abrasives
Top Mistakes in Grit Selection and How to Avoid Them
Achieving a smooth finish can feel tricky, especially when it comes to picking the right grit. Have you ever jumped from one grit level to another, only to find deep scratches staring back at you? Trust me, it’s not a fun spot to be in. That’s why it’s important to stick to the proper sanding sequence; skipping more than one grit can really mess up your project and lead to extra work.
So, how do you nail it? Start by following these basic guidelines to avoid those pesky swirl marks:
- Move up gradually through the grit levels.
- Make sure you remove all scratches from the previous grit before switching to a finer one.
Using a single grit for the whole job also doesn’t cut it when you’re aiming for a flawless finish. The best part is, you can save yourself some heartache by doing a few test runs. Grab different sanding discs and try them out on some scrap boards first. This way, you’ll find the perfect grit progression that works for you.
Frankly, the right grit selection can make all the difference in your finish. So, before you dive in, take a moment to consider your approach. What grit will you start with? Remember, this little prep work can lead to big rewards! Also, utilizing sandpapers with a variety of grits between 60 and 240 will support diverse project needs and finish quality.
Recommended Products

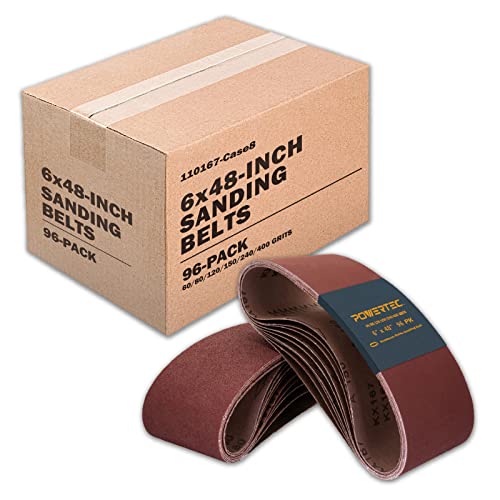
PREMIUM ALUMINUM OXIDE GRAIN: Our sanding belt is made with high-quality aluminum oxide grain, designed for both sanding wood and metal. Whether you’re using a belt sander or grinder belt sander attachment, the aluminum oxide ensures smooth material removal and long-lasting results. Ideal for sanding belts, belt sanders for woodworking, and sanding belts for metalworking, it provides a consistent finish. Suitable for fine sanding bands and grit sanding belts for precise sanding.
Usage: works with an assortment of belt sanding machines and applications – providing a heavy duty stripping and sanding tool for wood, aluminum, fiberglass, rubber, plastic and non-ferrous metals

2-in-1 Multi-Function Sanding System Combines belt sanding and disc sanding in one unit. Easily switch between 380×30mm sanding belts and 75mm yellow grinding wheels or round sanding discs. Ideal for deburring, polishing, shaping, and fine sanding on wood, metal, plastic, and other materials.
Tips for Getting a Great Finish With Your Belt Sander
Looking to get that smooth finish with your belt sander? You’ve come to the right place. If you’ve ever started a sanding project and ended up with more scratches than you began with, I feel you. Choosing the right grit from the start is crucial.
Start off with a coarse grit like P60 or P80—it’s perfect for knocking down rough spots and deep scratches. After that, follow this grit sequence: P80, P120, P180, and then finish with P220. Each finer grit should scrub away the marks left by the one before it. So, why does this matter? Well, using the right sequence saves you time and frustration, giving your project that pro-level shine.
You also want to use the right sanding methods depending on the material. For instance, if you’re working on wood, starting with P80 is your best bet for smoothing out those pesky imperfections. However, for metal, starting with P40 works wonders when you’ve got heavy pitting. It makes all the difference!
And don’t forget to keep an eye on your sanding belt. If it’s worn out, it won’t do you any favors. Regular checks will help you maintain peak performance throughout your sanding. For added convenience, consider models with a tool-free belt change feature to speed up your workflow.
Recommended Products

Belt and disc tables are precision-ground cast iron with miter slots, for precision and rigidity
Belt and disc tables are precision-ground cast iron with miter slots, for precision and rigidity

Exclusive dual thumbscrew belt tracking adjustment locks to keep belt on track during use
Frequently Asked Questions
What Is the Order of Grit When Sanding?
Like sculptors shaping clay, we begin our sanding with coarser grit, gradually refining through finer selections. Our grit selection, from 80 to 220, guarantees smooth wood finishes while prioritizing safety precautions throughout the project planning process.
What Is the 100 Grit Rule?
The 100 grit rule guides our sanding techniques, emphasizing grit selection. Starting at 100 grit guarantees effective surface preparation, promotes smoother wood finishes, and improves our project tips for maintaining tool performance and achieving perfect finishing touches.
Can I Go From 80 Grit to 150 Grit?
We shouldn’t leap from 80 to 150 grit; it’s like skipping chapters in a book. Proper sanding techniques require smooth grit selection, ensuring surface preparation with compatible materials, letting us achieve fine finishing touches effortlessly.
Is 40 Grit Rougher Than 80?
Yes, 40 grit is rougher than 80 grit in our grit comparison. For effective sanding techniques and surface preparation on various wood types, we should choose grit selection wisely, ensuring safety during material removal and achieving perfect finishing touches.


