As an Amazon Associate, we earn from qualifying purchases. Some links on this site are affiliate links at no extra cost to you. Our recommendations are based on thorough research and editorial judgment.

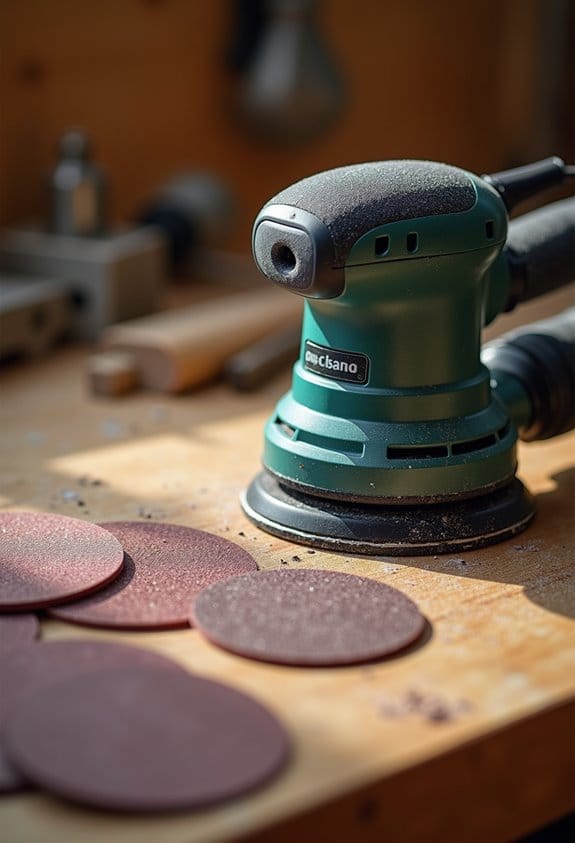
Understanding Sandpaper Grit Numbers and Applications
Ever tackled a project and ended up with more scratches than you bargained for? Understanding sandpaper grit numbers is key to nailing that perfect finish. These numbers, based on the size of abrasive particles, can make or break your project. You’ve got two main systems to consider: CAMI and FEPA, which help you determine what you need.
So, what’s the deal with grit sizes? Lower numbers (think 40-60) are great when you’re looking to remove heavy material. If you’ve got rough surfaces or old finishes to tackle, those coarse grits will save you time and effort.
On the flip side, higher numbers (220-400) are your best friends for smoothing things out before you call it done. Seriously, no one wants to deal with noticeable scratches on that final coat.
When it comes to woodworking, a good rule of thumb is to start rough, then go medium, and finally, finish with fine grit. You might begin with a coarse grit to take off any major imperfections, then switch to a medium grit to refine the surface.
Finally, wrapping up with a fine grit ensures that you get that silky smooth finish. Here’s the trick: pay attention to your grit selection—using the wrong grit can leave those pesky scratches or ruin your hard work.
Want to simplify things? Here’s a basic rundown:
- 40-60 Grit: Heavy material removal
- 100-150 Grit: Smoothing surfaces
- 220-400 Grit: Final finishes
So, why does this matter? Well, choosing the proper grit can drastically improve your results and save you from the headaches of having to redo your work. Honestly, it’s about having the right tools for the job.
In wrapping this up, remember that mastering sandpaper grit isn’t just a nice-to-have skill for your toolbox—it’s essential for quality project outcomes. What tips have you found useful for getting the smoothest finish on your projects?
Key Takeaways
- Sandpaper grit numbers range from coarse (40-60) for heavy removal to fine (220-400) for smooth finishes and polishing surfaces.
- Understanding grit measurement systems, like CAMI and FEPA, helps select the right abrasive for your project.
- Choose coarse grits for initial shaping, medium grits for most woodworking tasks, and fine grits for achieving a polished finish.
- Skipping grit sizes or using excessive pressure can lead to visible scratches and material damage during sanding.
- Cleaning surfaces between grit changes and using the appropriate sandpaper type prevents poor results and aesthetic issues.
What Are Sandpaper Grit Numbers and Why Do They Matter?
When you’re picking out sandpaper, you might wonder why there’s such a range of grit numbers. It’s all about the size of the abrasive particles and how they can change the way you tackle your sanding projects. Lower grit numbers like 40 or 60 are for those heavy-duty jobs where you’re trying to remove a lot of material fast, while higher numbers like 220 or 400 are for those final touches that give your project a smooth finish.
So, what’s the deal with grit sizes? Think of it this way: coarser grits are excellent for stripping paint and shaping materials, while medium grits work well to smooth surfaces down. Then you have fine and extra fine grits, which are the secret to achieving that polished look. Selecting the right grit isn’t just about speed; it also helps you avoid unsightly scratches and ensures you get the results you’re aiming for.
The best part is that using the right grit can really change how your project turns out. You wouldn’t want to start with a fine grit only to realize you should’ve stripped the surface more first, right? So, make sure you’re progressing through the grits appropriately—starting with coarse and moving to finer—so you maintain quality throughout.
It’s pretty clear that getting this right matters. Understanding sandpaper grit numbers isn’t just a technical detail; it’s a crucial part of ensuring your sanding tasks go smoothly. By paying attention to these details, you’ll end up with a much better finish on all your projects. Are you ready to tackle your next sanding job with confidence? Using the right tools for sanding can also greatly enhance your results by providing better control and efficiency.
Understanding Grit Measurements: CAMI vs. FEPA

Picking the right sandpaper can feel a bit overwhelming, can’t it? It’s not just about the grit number; you also need to understand the differences between grit measurement systems like CAMI and FEPA.
CAMI, which you’ll mainly find in the U.S., has grit sizes that go from 24 all the way up to 1200 but doesn’t stick to really strict tolerances. On the flip side, FEPA introduces a “P” prefix to its grit sizes, like P220, and has a stricter calibration. This range goes from P8 to P1200.
The real kicker is that these differences really matter, especially with smaller grit sizes. Just a tiny variation can make a big impact on how well your sandpaper performs and the quality of your finish. So, why does this matter? When you’re working on your project, it’s essential to keep these differences in mind, especially if you’re using sandpaper from international sources.
Here’s the trick: always evaluate what you specifically need for that project. Are you sanding a delicate surface or something rougher? Knowing whether to reach for CAMI or FEPA can help you pick the right abrasive particles for the best results.
Proper material durability of your sanding tools, like C3 micro-grain carbide used in router bits, similarly ensures longevity and consistent performance in your woodworking finishing processes.
The Types and Grit Numbers of Sandpaper

When it comes to sanding your projects, you might feel overwhelmed by the different types and grit numbers of sandpaper out there. Understanding these options is really key if you want your work to turn out just right. Sandpaper grits range from coarse (40-60) for heavy material removal to fine (220 and above) when you’re finishing surfaces.
So, what’s the best grit for your project? Here’s a quick rundown:
- Coarse (40-60) is great for initial sanding to take off a lot of material.
- Medium (80-120) works well for most woodworking projects.
- Fine (220) gives you that smooth finish, and very fine (280-320) is perfect for polishing.
You might’ve noticed that the grit number tells you about the size of the abrasive particles—that means lower numbers have bigger particles, which is why they sand quicker. Personally, I tend to grab aluminum oxide for wood projects since it’s so effective, while silicon carbide is my go-to for metal surfaces.
Moving through grit sizes step-by-step is super important. The trick is to avoid jumping too many grit levels at once; otherwise, you can end up with deep scratches that are hard to mask later on. Honestly, taking the time to do it right ensures a much smoother finish. Using the right heavy-duty tools can help maintain stability and precision during sanding tasks.
Recommended Products

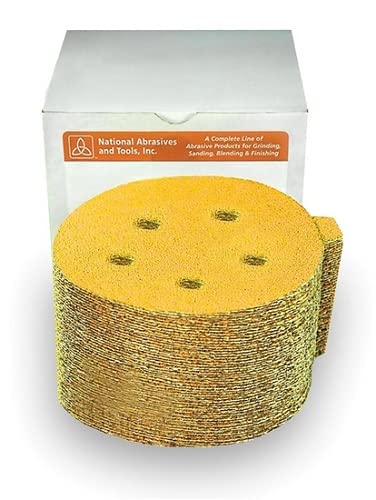
These Discs Provide A Quick And Cool Cut
These Discs Provide A Quick And Cool Cut
Choosing the Right Sandpaper Grit for Your Project
Choosing the right sandpaper grit for your project doesn’t have to be tricky, but it does take a bit of thought. If you’re diving into woodworking, starting with a coarse grit in the 40-60 range really helps shape the wood quickly. Once you’ve got that rough shape down, transitioning to medium grits like 80-120 will give you a nice, smooth finish. For that final touch, grab some finer grits—220 and above—to really make your project shine.
Now, if metalworking is your thing, medium grits come into play again—perfect for smoothing surfaces without leaving behind scratches. And if you’re prepping metal for painting or polishing, those finer grits will make all the difference. So, why does this matter? Because different materials need different approaches. Softer woods require those finer grits to prevent damage, while harder materials can handle a bit more grit during initial sanding.
Here’s the trick: always clean the surfaces between grit changes. It might seem like a small step, but it helps you get the best results possible. Additionally, using tools constructed with durable brass can enhance the longevity and performance of your sanding and finishing equipment.
Top Sanding Mistakes and How to Perfect Your Technique
Ever started a sanding project and found yourself frustrated with the results? You’re not alone. A lot of us struggle with common mistakes that can seriously mess things up.
Skipping grits is a big no-no. When you jump from coarse to fine without easing into it, you’ll end up with visible scratches on the surface. Gradually moving from coarser to finer grits is key. It’s the best way to ensure that polished finish you’re after.
Over-sanding can also be a real problem. Using too much pressure might damage your material, which is the last thing you want. Stick with the right grits for the job and pay close attention to what you’re doing. It’s all about finding that sweet spot.
Cleaning your work surface in between grit changes is essential too. All that debris can cause scratches, and nobody wants that! Just take a moment to wipe things down before you move on.
The type of sandpaper you use really matters, and using the wrong one can lead to disappointment. Don’t underestimate the importance of choosing the right sandpaper for your project.
Lastly, don’t rush through the process. Moving too quickly between grits can ruin the final look. The reality is, patience pays off here.
Also, using tools with shock-absorbent handles can help reduce hand fatigue during long sanding sessions, improving your overall control and precision.
Frequently Asked Questions
Can I Use the Same Grit for All Materials?
We can’t use the same grit for all materials. Choosing the right grit is essential for proper sandpaper applications, whether for wood sanding techniques, metal surface preparation, or plastic finishing tips. Always compare grit levels carefully!
How Do I Know When to Change Sandpaper?
When our sandpaper starts wearing thin, we notice clogging, uneven surfaces, or reduced effectiveness. Visual assessments, pressure application, and project specifics guide us in changing grit for ideal performance, balancing cost and quality throughout our projects.
What Safety Gear Should I Wear While Sanding?
When sanding, we always wear safety goggles, dust masks, and ear protection. Gloves are essential for skin irritation, and protective clothing helps. Good ventilation’s important too, ensuring our workshop safety remains a top priority.
Can Sandpaper Grit Numbers Vary Between Brands?
Yes, sandpaper grit numbers can vary between brands, often leading to grit number confusion. We should use grit conversion charts and evaluate sanding performance, considering brand quality and material-specific grits for maximum effectiveness and consistency.
What Is the Best Technique for Sanding Corners?
For corner sanding techniques, we should use sanding blocks for even pressure, hand sanding methods for tight areas, and power sander tips to maintain a sanding angle. Let’s avoid scratches by employing effective dust control and using sanding sponges.


